Article categories:
Published:
Identifying door hardware while in the field.
Tips for identifying door hardware while in the field, helping technicians and installers quickly determine parts, functions, and replacements.
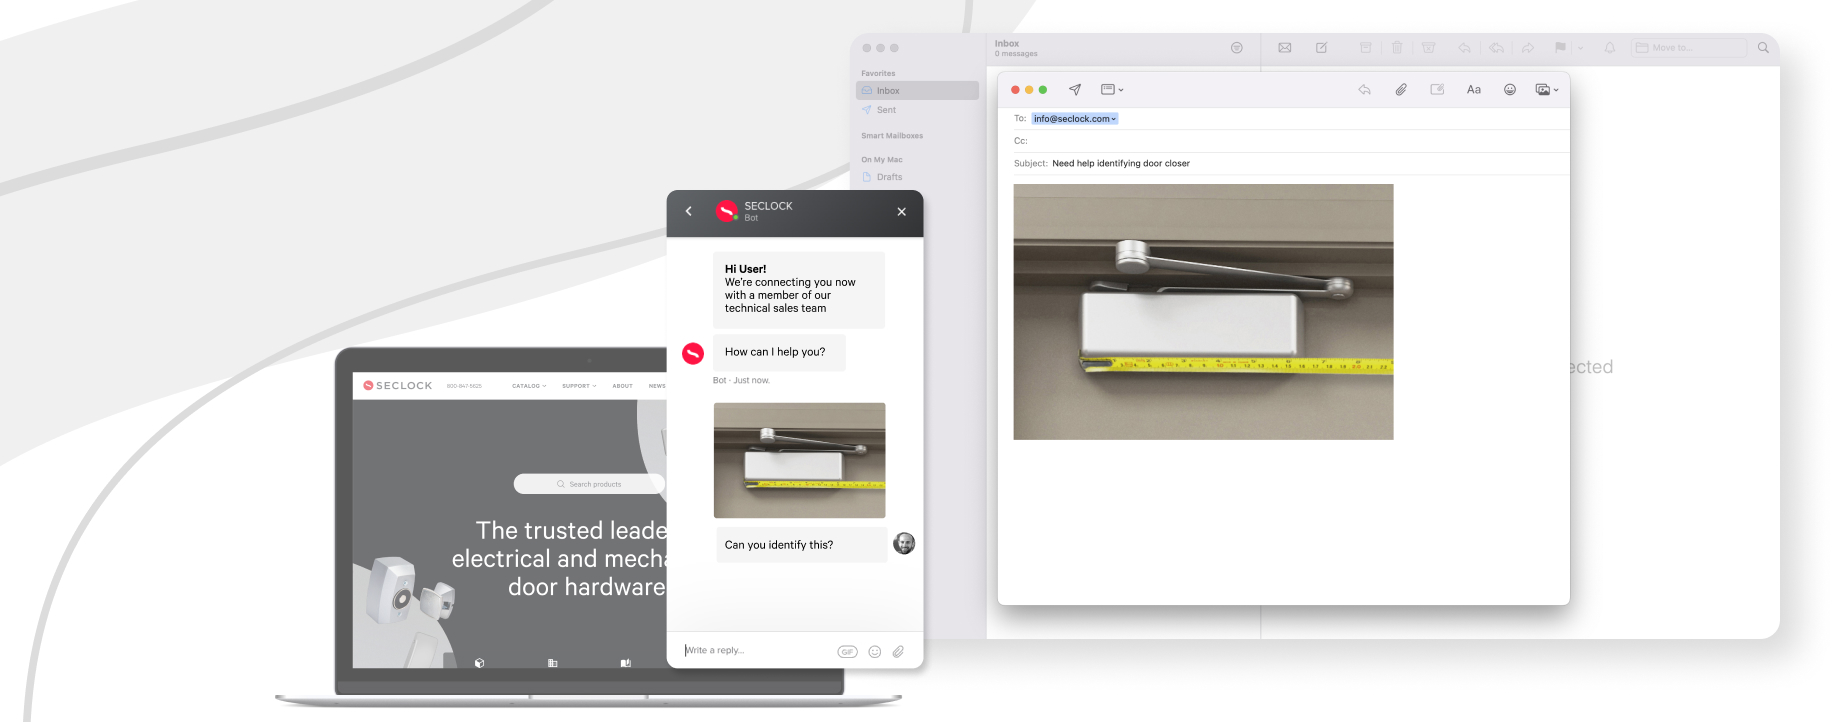
If you ever need help identifying door hardware while in the field, simply send photos of the product to our team of knowledgeable technical service representatives via email or through or online chat feature - available on mobile and desktop - for fast and accurate responses.
For best results in receiving correctly identified products, please ensure that all your photos follow these guidelines:
- The door hardware you need to be identified should be in focus and have good lighting.
- Ensure that nothing is obstructing the view of the product from the camera, like a finger or object in the environment.
- Include images of the inside and outside of the door so all hardware being used in an opening is visible.
- If possible, please take photos with a tape measure next to the hardware so close-to-exact measurements will be known.
- Photos being emailed need to be a combined file size of 10MB or fewer. Anything larger may not send due to email size limitations.
- We are unable to give accurate quotes until we have all the necessary information to appropriately identify the product/hardware needed.
Below, we have separated the common door hardware categories that frequently need identifying with examples of helpful and problematic photos that have been received previously:
Identifying Cylinder, Mortise, and Integrated Push Button Locks
For best results in accurately identifying your cylinder, mortise, or integrated push button locks, please ensure the photos you send us to include the following:
- Images should be taken of the front, back (inside and outside), and the edge of the door or opening.
- Submitting photos of the lock’s latch, trim, core opening, levers, and backset is invaluable when correctly identifying many door locks.
- Photos of the door lock should be clear and in focus without any obstructions. If possible, include a tape measure next to the product/hardware so close-to-exact measurements are seen.
Examples of helpful lock photos


Examples of problematic lock photos

Identifying Door Closers and Operators
For best results in accurately identifying your door closers or door operators, please ensure the photos you send us to include the following:
- Photos of the door closer or operator should be clear and in focus without any obstructions. If possible, include a tape measure next to the product/hardware so close-to-exact measurements are seen.
- Submit photos of the door closer and operator with and without their covers installed in addition to photos of the door closer’s arm.
- Although they may seem important, images of the UL Listing Number or Casting Number or not necessary to include for identification.
Examples of helpful door closer photos

Examples of problematic door closer photos

Identifying Exit Devices
For best results in accurately identifying your exit devices, please ensure the photos you send us to include the following:
- Photos of the exit device should be clear and in focus without any obstructions. If possible, include a tape measure next to the product/hardware so close-to-exact measurements are seen.
- Images should be taken of the front and back sides (inside and outside) of the door or opening.
- For accurate identification, submit photos of the exit device’s end caps, head, outside trim, and latch.
Examples of helpful exit device photos


Examples of problematic exit device photos

Electrifying an Opening
If you are interested in electrifying an opening, our team of TSRs can recommend door hardware solutions tailored to your specific needs. Send us photos of your opening that include the following:
- Photos of the door/opening should be clear and in focus without any obstructions. If possible, include a tape measure placed where the product/hardware would be installed so close-to-exact measurements are seen.
- Submit photos of the door frame (taken directly underneath the header) and the door's font and back sides (inside and outside) from a few feet back so the entire opening is visible.
Examples of helpful photos when electrifying an opening

Examples of problematic photos when electrifying an opening

If you have any questions, reach out to our team of professional TSRs by emailing them at info@SECLOCK.com or by starting a live chat by clicking the gray chat icon on the bottom right of any page.
Posted in:Product News & Info
